What to check first
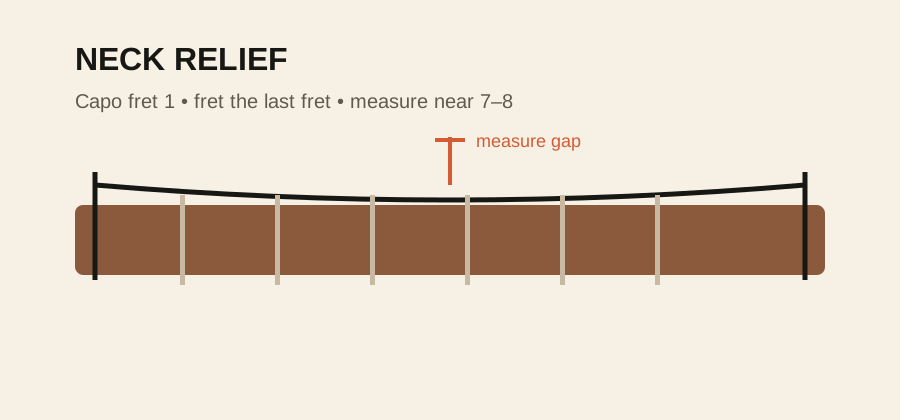
Tune the guitar to pitch. Put a capo at the first fret, hold the low E down at the last fret, and measure the clearance around fret 7–8. You are establishing a baseline, not chasing a magic universal number.
What the result tells you
If the neck is extremely straight or back-bowed, insufficient relief may be contributing. If relief is already sensible, move on to action and fret condition. Do not use the truss rod as a general-purpose action control.
Write down the current measurement before changing anything.
Small, reversible adjustments are easier to understand and undo.
Stuck, stripped, lifted or structural parts are not routine setup territory.
Bench questions
Do I need to chase a factory number exactly?
No. Factory specs are useful baselines, but playing attack, string gauge, fret condition, radius and preference affect the setup that actually works.
Should I change more than one thing at once?
No. Make one measured change, retune, and test again so you know what caused the result.
When should I stop?
Stop if an adjustment is stuck, requires unusual force, hardware is stripped, a fret is visibly lifting, or the problem looks structural rather than setup-related.
Related setup guide
Guitar Fret Buzz Guide gives you the broader context for this problem.
Where to go next
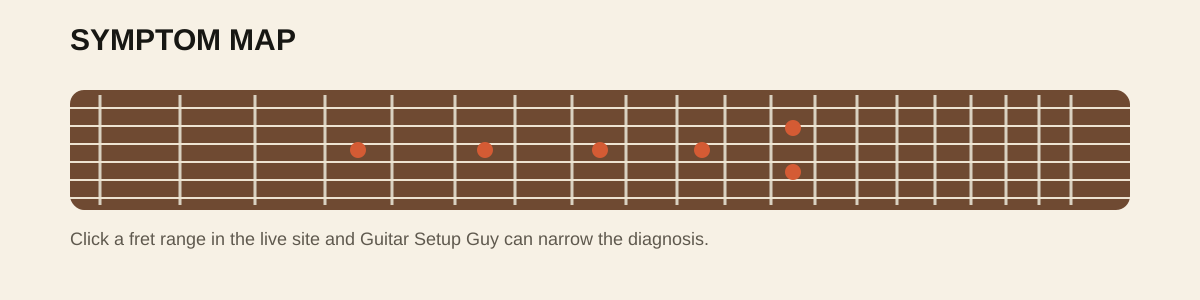
If this check does not explain the symptom, don’t compensate by randomly changing another adjustment. Go back through the symptom diagnostician and follow the next branch.